Difference between revisions of "Creating Workflows"
Jump to navigation
Jump to search
(→Duplicating Workflows) |
Globalwiki (talk | contribs) m (1 revision) |
(No difference)
| |
Latest revision as of 03:40, 14 October 2014
You can create workflows that specify how an activity is carried out.
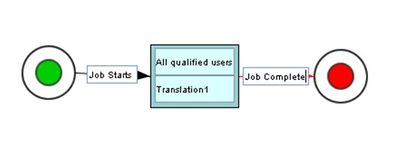
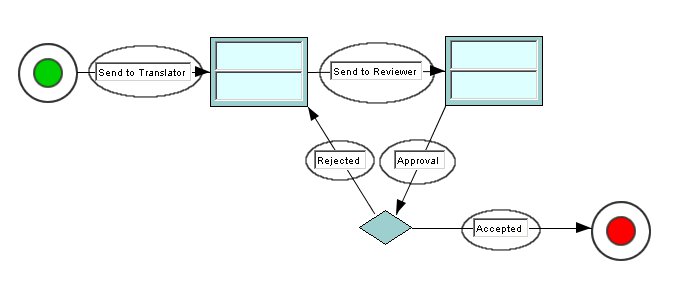
The example below describes a basic translation->review workflow.
You can define the actions that can be performed on the files using activity nodes.
Creating Workflows
To create a workflow:
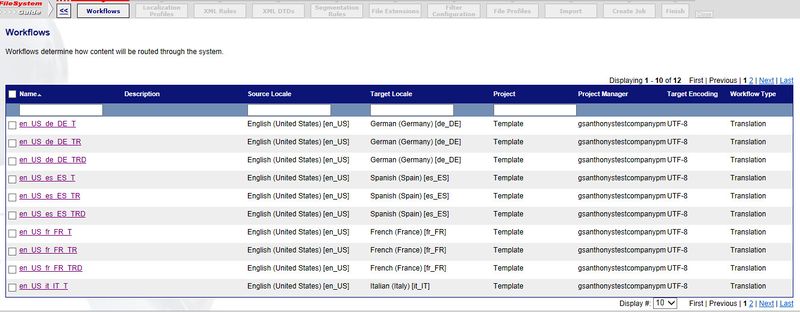
- Click Workflows in the FileSystem Guide
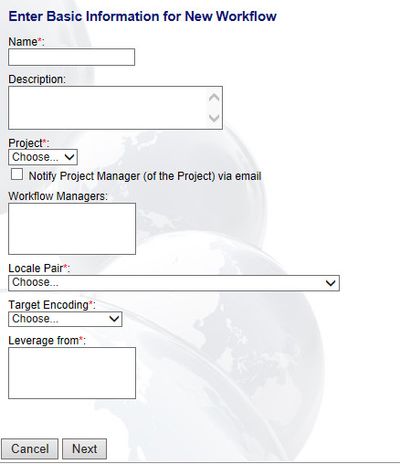
- Click New. The Enter Basic Information for New Workflow page opens
- Enter a Name that provides information on the language pair and activity types. For example US English to German with T for translation and R for Review - en_US_de_DE_T
- Enter a Description
- Select the Project
- Select the Workflow Manager
- Select the Locale pair
- Select a Target Encoding
- Add one or more language locales to Leverage From
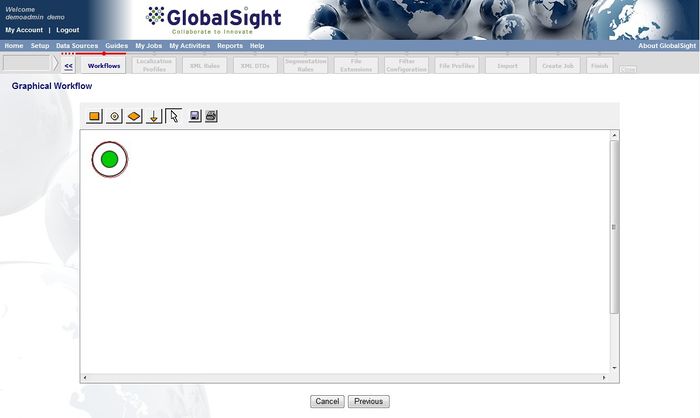
- Click Next. The Graphical Workflow opens
- Create the workflow needed by clicking the elements and then insert them by clicking the workspace
- Add explanatory text for the arrows. For example “Send to translator” and “Accept”
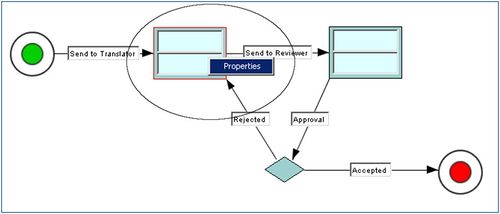
- Right-click each Activity Type and select Properties
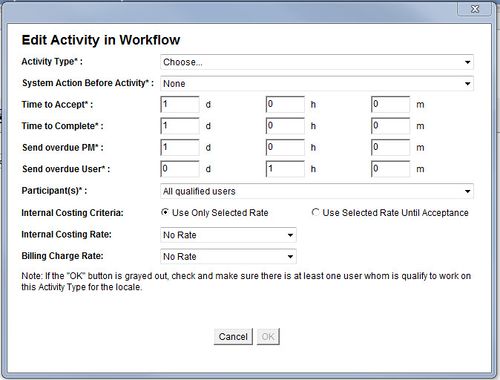
- Add the details needed for each activity:
- For translation, select Translation1 as the Activity Type and either A selected user or All qualified users as the Participant(s)
- For review, select review_linguistic1 as the Activity Type and either A selected user or All qualified users as the Participant(s)
- Click Save
The workflow is now configured. You can duplicate it across other languages as needed.
Duplicating Workflows
To duplicate a workflow:
- Select an existing workflow
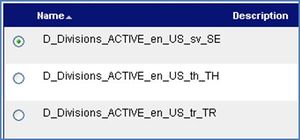
- Copy the first part of the name up until the source and target locale. In this example, D_Divisions_ACTIVE
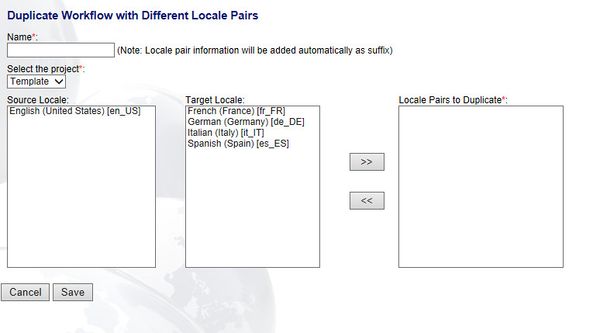
- Click Duplicate. The Duplicate Workflow with Different Locale Pairs window opens
- Paste the workflow name into Name
- Select the Project, the Source Locale and Target Locale, and then click >>
- Click Save
Check every activity to make sure they have correct participants:
- Click the workflow to edit it
- Click Next
- Right-click every activity and select Properties:
- One user only: Click Cancel to retain the All qualified users option
- No users or anyone: No user is assigned to the activity
The correct workflow is added using the same naming rule.
