Connecting to a CVS with the GlobalSight Desktop Icon
Connect to CVS was introduced in GlobalSight versions 7.1.4 and 7.1.5 to allow a connection between GlobalSight and a CVS repository. This allows the retrieval of content from the CVS server, CVS module mapping and creating jobs in GlobalSight, followed by an update of the content back to the CVS server.
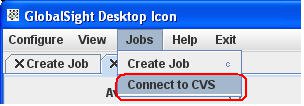
You can access Connect to CVS from as a sub-menu of the the Jobs menu.
Contents
Prerequisites
- The GlobalSight server is running release 7.1.5, or later
- WINCVS is installed
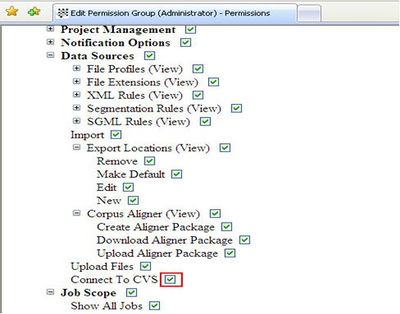
- Connect to CVS is enabled for the Desktop Icon user. To check this, go to the Data Sources part of the Permission Group
Connecting to a CVS
To add Connect to CVS as a menu item, check the Connect to CVS box under Data Sources in Permission Group.
The Connect to CVS option is added as a sub-menu of Jobs in the Desktop Icon.
Configuring the CVS
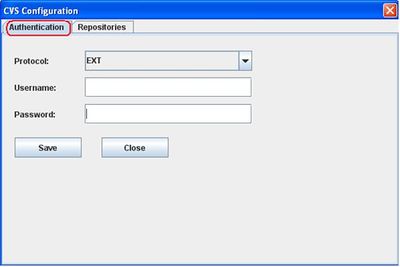
Authentication
- Click the Authentication tab
- Select a Protocol
- Enter the Username and Password for the Authentication menu
- Click Save
Example settings:
- Protocol: PSERVER
- Username: globalsight
- Password: <password for the CVS user>
Creating repositories
To create a repository:
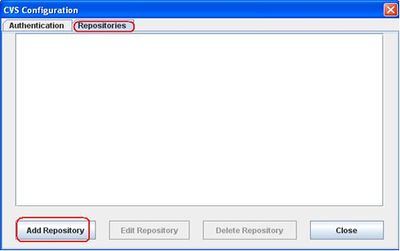
- Click the Repositories tab
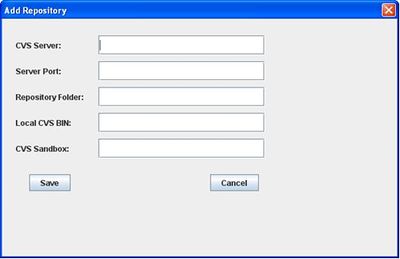
- Click Add Repository
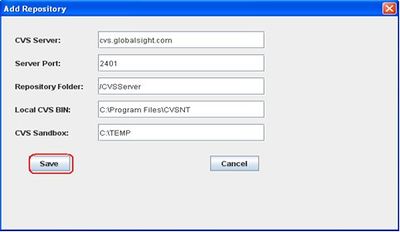
- Enter the information as required:
- CVS Server: add the IP address or hostname of the CVS server
- Server Port: add the port number of the CVS server. 2401 is the default for the PSERVER protocol, 22 is the default for the EXT protocol
- Repository Folder: enter the storage location that contains the modules managed by the CVS server. Make sure that CVSNT is installed on your local computer
- Local CVS BIN: enter the path of cvs.exe, for example C:\Program Files\CVSNT
- CVS Sandbox: enter the path of your local folder or directory for checking out
- Click Save
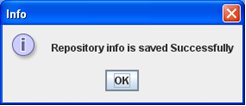
- Click OK
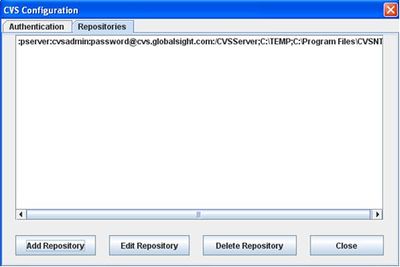
- The new repository shows as :pserver:globalsight@cvs.globalsight.com:/CVSServer;C:\TEMP;C:\Program Files\CVSNT.
- Click Close to close the CVS configuration
To edit or delete a repository:
- Click Edit Repository or Delete Repository on the Repositories tab of the CVS Configuration window
Adding a module
To add a module:
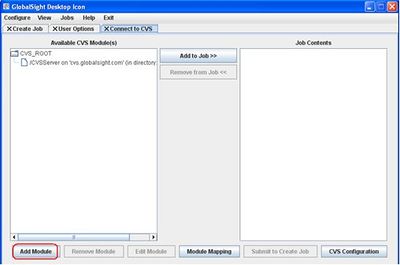
- Click Add Module on the Connect to CVS tab of the Desktop Icon
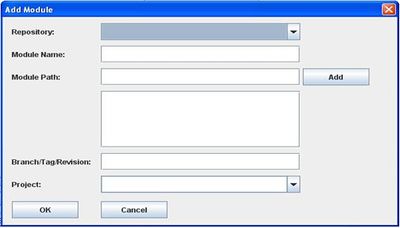
- Enter the information as required:
- Select the new Repository
- Enter the Module Name
- Enter a valid Module Path and click Add. You can also add multiple Module Paths
- Enter the Branch/Tag/Revision
- Enter the Project, or select it from the list if it exists already
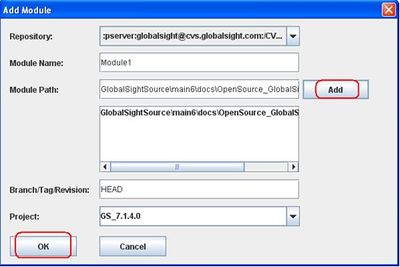
- For example:
- Repository: :pserver:globalsight@cvs.globalsight.com:/CVSServer;C:\TEMP;C:\Program Files\CVSNT
- Module Name: Module1
- Module Path: Globalsightsource\main6\docs\OpenSource_GlobalSight\User Guides
- Branch/Tag/Revision: HEAD
- Project: GS_7.1.4.0
- Click OK
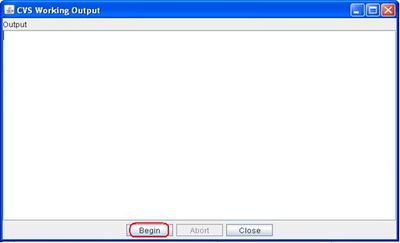
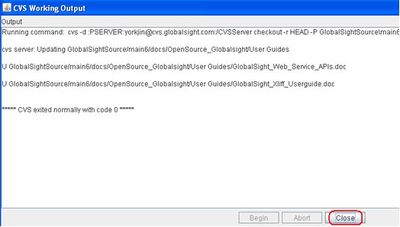
The CVS Working Output window opens. - Click Begin to check out files. You can also Abort to cancel the CVS output
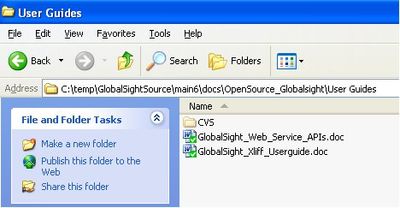
- In this example, two doc files are checked out from the CVS server
- Click Close
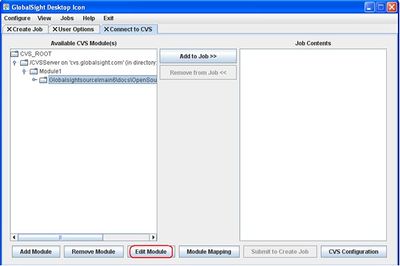
- Highlight the module and click Edit Module to check it out again
Mapping a module
You can map a directory or file name to a module on the CVS server. When a job is exported, the file is automatically uploaded to the target module defined.
To map a module:
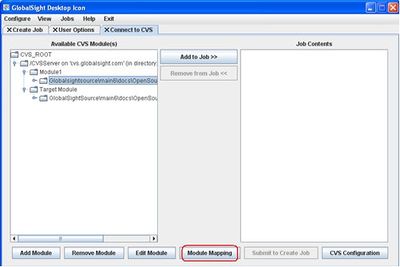
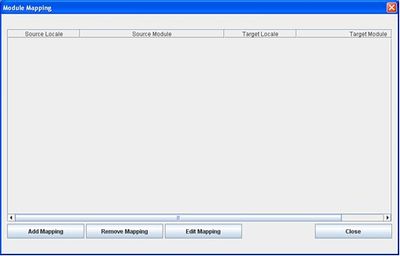
- Click Module Mapping on the Connect to CVS tab of the Desktop Icon
- Select Add Mapping, Edit Mapping or Remove Mapping
- Source Locale: the locale of the source file
- Source Module: the path of the source file on the CVS server
- Target Locale: the locale of the target file
- Target Module: the target directory on the CVS server where the final localized files from the exported jobs are stored
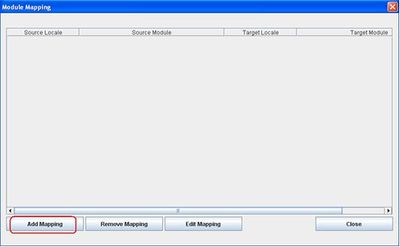
To add a mapping:
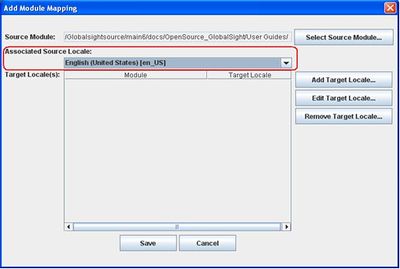
- Click Add Mapping
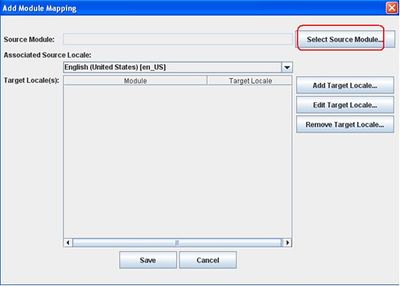
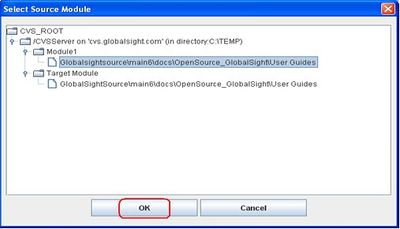
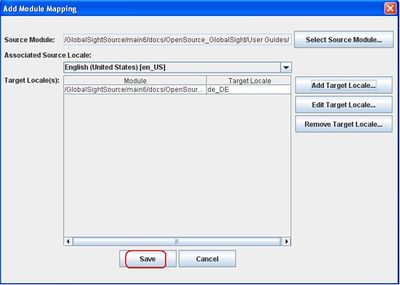
- Click Select Source Module to select the directory of the source module. For example, \GlobalSightSource\main6\docs\OpenSource_GlobalSight\User Guides
- Click OK in the Select Source Module window
- Select the Associated Source Locale in the Add Module Mapping window. For example, English (United States) [en_US]
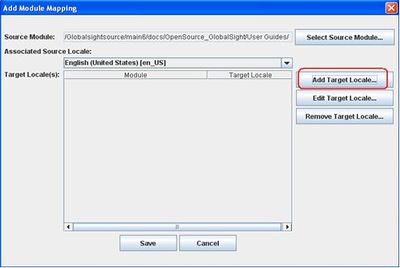
- Click Add Target Locale to add the details of the target module
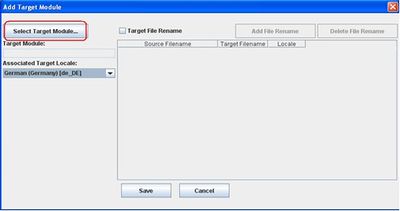
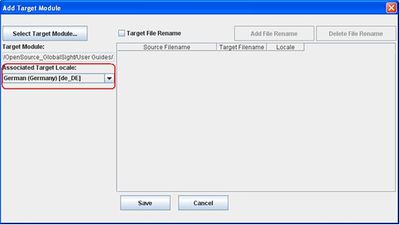
- Click Select Target Module in the Add Target Module window
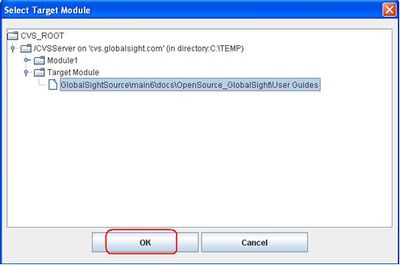
- Click OK
- Select the Associated Target Locale. For example, German (Germany) de_DE
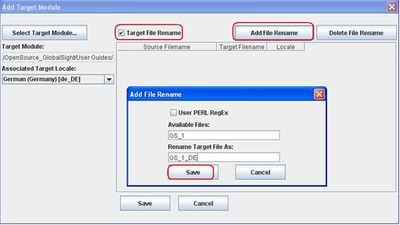
- To change the target file name when updating it to the CVS server, click Target File Rename and then click Add File Rename to identify the rename rule. Click Save to add the file rename rule
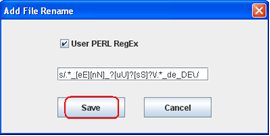
- You can also select User PERL RegEx (Regular Expression) in the Add File Rename window. Click Save to add the file rename rule to the list
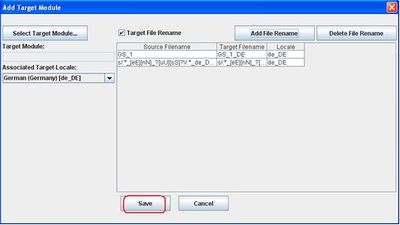
- Click Save in Add Target Module
The target module information shows in Add Module Mapping. - Click Save
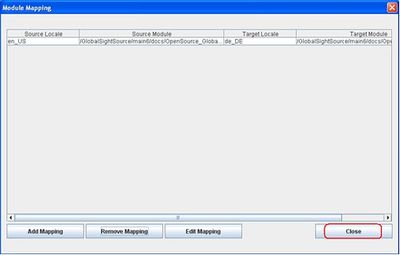
- Click Close after the mapping information shows in Module Mapping
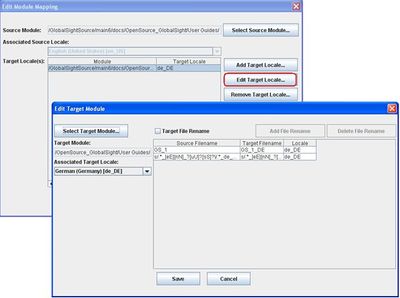
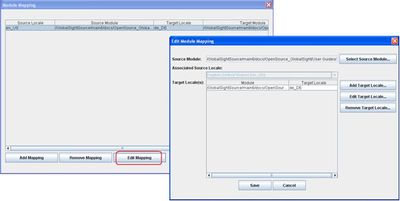
To edit a target locale:
- To change the target file information saved, select the record in the list in Edit Module Mapping
- Click Edit Target Locale
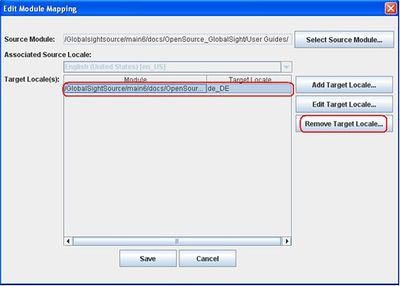
To remove a target locale:
- Select the target locale record to be removed in Edit Module Mapping
- Click Remove Target Locale
To edit module mapping:
- Click Edit Mapping in Module Mapping
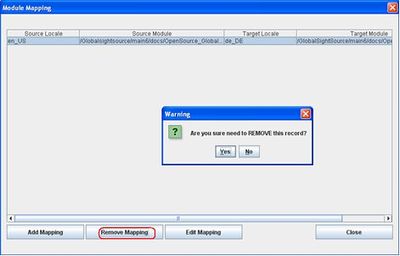
To remove module mapping:
- Click Remove Mapping in Module Mapping
Submitting files to create a job
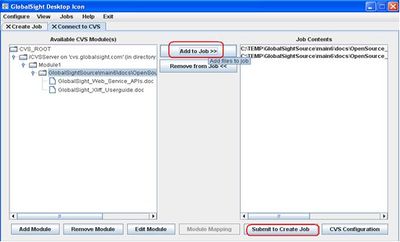
- Select the files in the Connect to CVS tab of the Desktop Icon
- Click Add to Job to add them under Job Contents
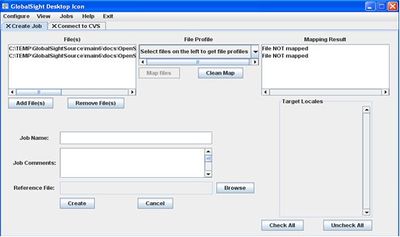
- Click Submit to Create Job to start job creation
