Managing TMs
| Project Management Wiki | |||||||
| Jump to: Home | Main User Guide | |||||||
 | |||||||
| General About GlobalSight My Jobs | My Activities My Account | |||||||
| |||||||
| |||||||
| |||||||
| Support Support | FAQs | Training System Requirements Logging in |
You can view and manage the TMs in your project.
For example you can import and export TMs, get statistics, run maintenance, re-index TMs and so on.
Contents
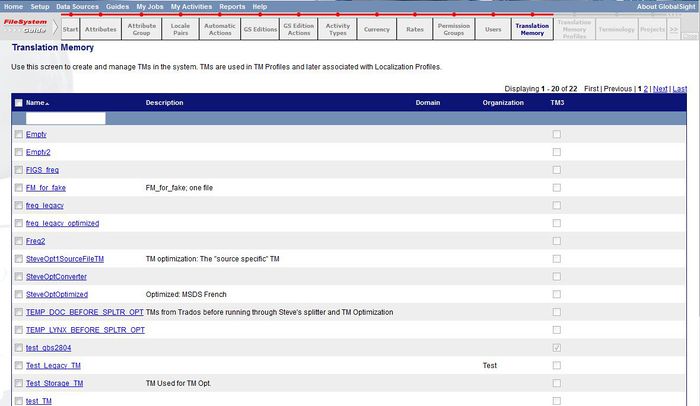
To manage TMs in GlobalSight, click Setup->Translation Memory from the top menu. You can also open it from Setup in the Quick Links. Translation Memory opens.
Select a TM to manage it. You can:
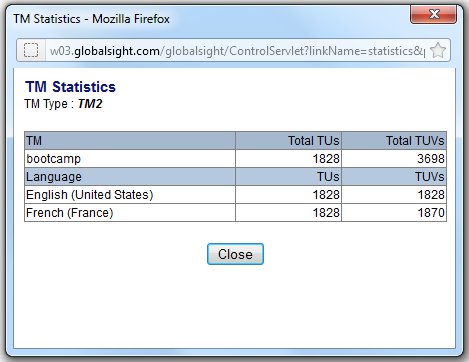
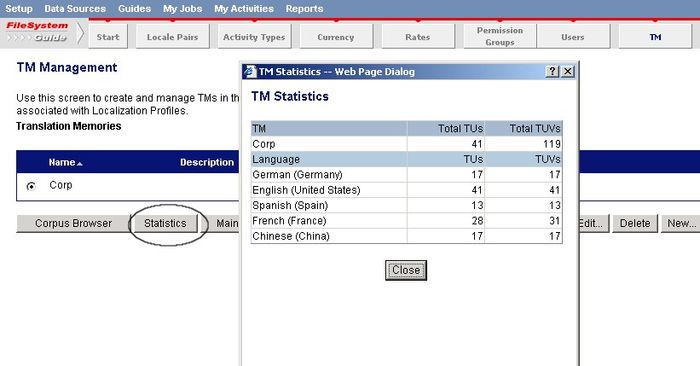
- Get statistics: Get basic details on the TM including TUs (translation units, segments in the TM) and TUVs (translation unit variants, a locale-specific entry)
- Run maintenance: Search and replace entries in the TM. You can also do a concordance search within the TM
- Import TM Data: Imports translation memory data into the TM selected
- Export TMs: Export all entries from a TM. The exported TM can be imported again later by GlobalSight or any program that uses translation memory
- Reindex TMs: Re-index the TM selected
- Duplicate TMs: Create a copy of the TM selected
- Edit TMs: Edit the description of the TM selected
- Remove TMs: Remove the TM selected from the system
- Add new TMs: Add a new TM to the system
Searching TMs
You can select the TMs to search using the Translation Memory Search.
Open the Translation Memory Search by clicking My Activities->TM Search.
Project Managers can also open it by clicking Setup->Translation Memory->TM Search.
Getting Statistics
To get statistics on a TM:
- Select the TM
- Click Statistics
The totals are those for the entire TM, as well as each locale for which there are entries in the TM.
Running Maintenance
To run maintenance on a TM:
- Select the TM
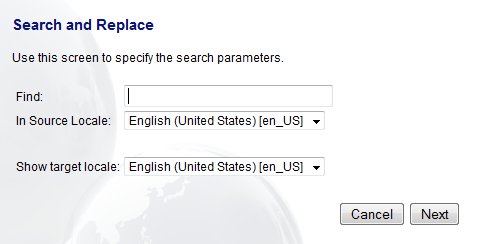
- Click Maintenance. Search and Replace opens
- Enter the term to search for and click Next
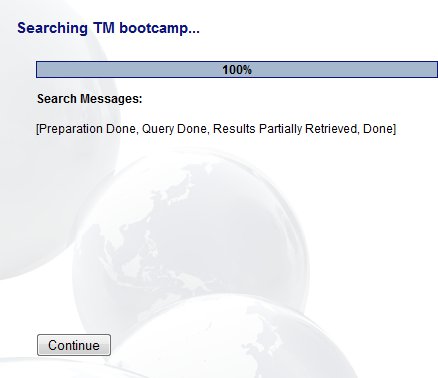
- Click Continue when the search reaches 100%
- Check the Results
- Click Cancel to go back to TM Management or Previous to go back to the search
Importing TM Data
To import TM data into a TM:
- Select the TM
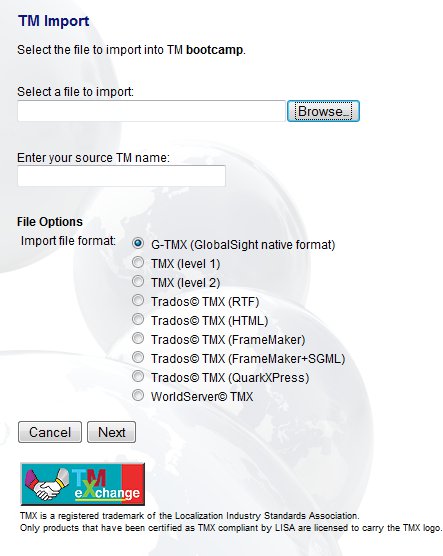
- Click Import
- Click Browse and select the file to import
- Add a name for the source TM
- Select the import file format. Default TMX level 2 works fine. You can also select a zipped format of the TMX file to save time uploading
- G-TMX (GlobalSight native format): GlobalSight native format XML file
- TMX (level 1): TMX level 1 compatible XML file
- TMX (level 2): TMX level 2 compatible XML file
- Trados© TMX (RTF): Trados-compatible XML file containing TM data for RTF files
- Trados© TMX (HTML): Trados-compatible XML file containing TM data for HTML files
- Trados© TMX (FrameMaker): Trados© compatible XML file containing TM data for FrameMaker files
- Trados© TMX (FrameMaker+SGML): Trados© compatible XML file containing TM data for FrameMaker+SGML files
- Trados© TMX (QuarkXPress): Trados© compatible XML file containing TM data for QuarkXPress files
- WorldServer© TMX
- Click Next
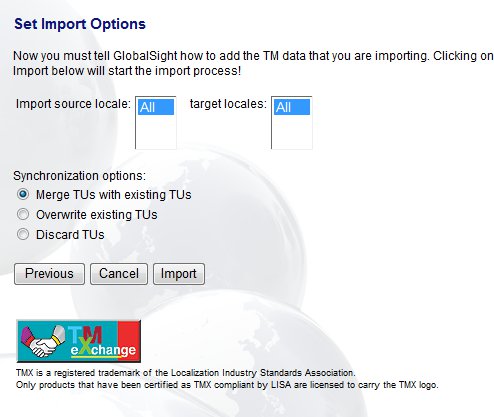
- Accept the default import options
- Merge TUs with existing TUs: Matching New TUVs are merged (added) to existing TUVs
- Overwrite existing TUs: Matching New TUVs overwrite existing TUVs
- Discard TUs: Matching New TUVs are discarded (not added) to existing TUVs
- Click Import
- Click OK once the upload is 100% complete
Check that the TM has been imported successfully by clicking Statistics.
Exporting TMs
- Select the TM
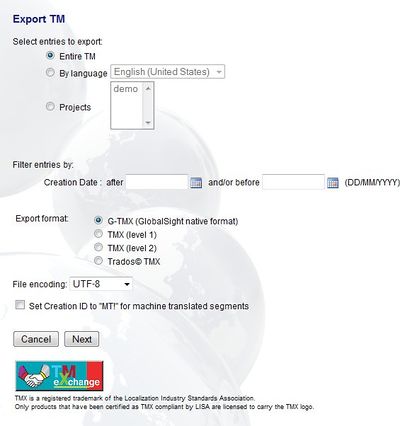
- Click Export
- Select the entries to export:
- Entire TM
- By language
- Projects
- Select the dates to Filter entries by
- Select the export format:
- G-TMX (GlobalSight native format): Native GlobalSight format and the best choice for importing the TM into another GlobalSight installation. The export is an XML file
- TMX (level 1): exports entries as a TMX level 1 (1.4b) compatible XML file.
- TMX (level 2): Exports entries as a TMX level 2 (1.4b) compatible XML file.
- Trados© TMX: Exports entries as a Trados© compatible XML file. You must choose this option if you wish to use the TM with Trados.
- Set the File coding to UTF-8
- You can click Set Creation ID to "MT!" for machine translated segments, if needed
- Click Next
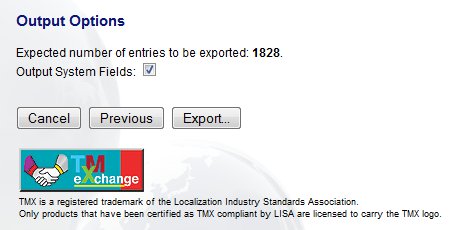
- Select the Output Options. The number of entries that are being exported shows
- Check Output System Fields to write system fields to TM being exported
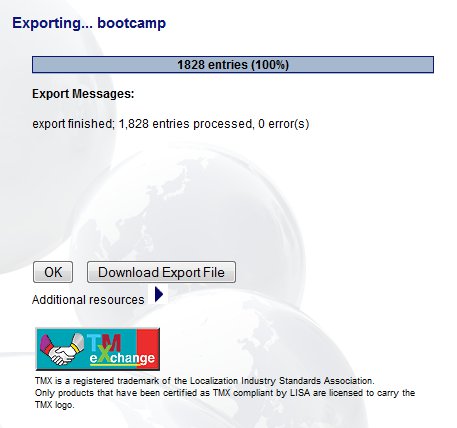
- Click Export
- Click Download Export File to save the zip containing the XML file to your computer. You can also go back to TM Management by clicking OK
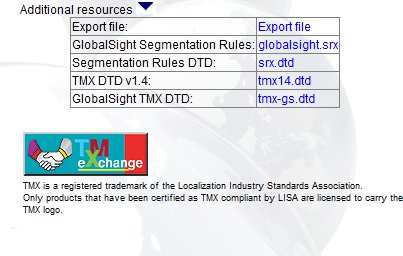
You can also get additional resources by cling the arrow:
- Export file: The file exported
- GlobalSight Segmentation Rules: Segmentation rules used to segment the entries in the TM
- GlobalSight Rules DTD: DTD for the segmentation rules
- TMX DTD v1.4: DTD for TMX v1.4-compatible TMs
- GlobalSight TMX DTD: DTD for TMs exported from GlobalSight
Reindexing TMs
To re-index a TM:
- Select the TM
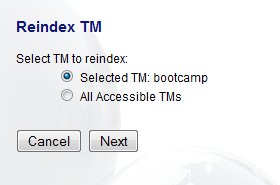
- Click Reindex
- Select whether to re-index the TM selected only or All Accessible TMs
- Click Next
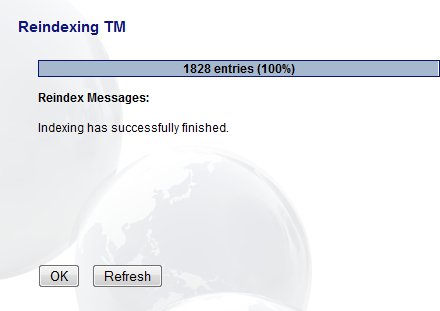
- Click OK to return to TM Management or Refresh for an update
Duplicating, Editing and Removing TMs
To duplicate/edit/remove a TM:
- Select the TM
- Click Duplicate/Edit/Remove
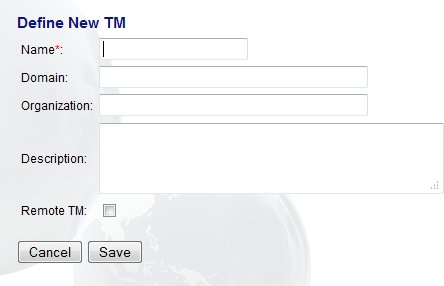
- Enter a Name made up of letters, numbers, underscores (_) or hyphens (-). Thw name chosen shows in GlobalSight and cannot be edited after saving
- Enter an optional Domain. For example the specialty areas of the terms in this TM such as IT, Medical, Educational and so on
- Enter an optional Organization for terms in this TM. For example Marketing, Sales, Engineering and so on
- Enter an optional Description for the TM
- Click Save
Adding TMs
To add a TM:
- Click New..."
- Add the details as described above
Restricting Access
Administrators can restrict access to TMs to particular users. Access is configured on TM basis.
Restricting access to a TM affects:
- The TMs that are listed in TM Management
- The TMs that are displayed when creating or editing a Translation Memory Profile
- The TMs that are available for searching in the Corpus Browser
Access restrictions only apply to configuration changes and not to leverage. All TMs that are configured in a TM Profile are used for leverage, regardless of whether the job submitter or translator can access them.
To restrict access to a TM:
- Open TM Management
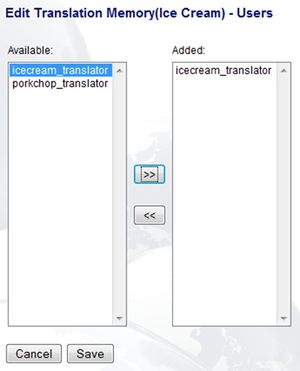
- Select a Translation Memory and click Users
- Select the users to be given access to the TM and click >>
- Click Save
Terminology Management Translation and Review Process
New process for terminology management translation and review.
For example, an uploaded Word document goes through the traditional work-flow with translation and review steps as usual. When the final activity is finished and the job is exported, the source and target contents are imported automatically into the TermBase associated with the workflow.
The new process is:
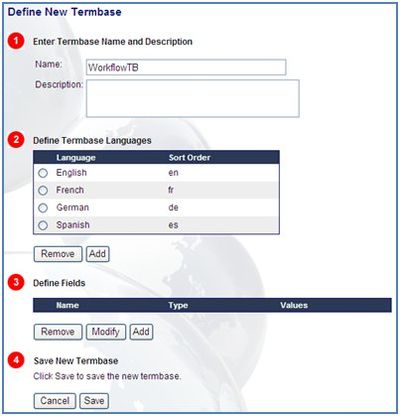
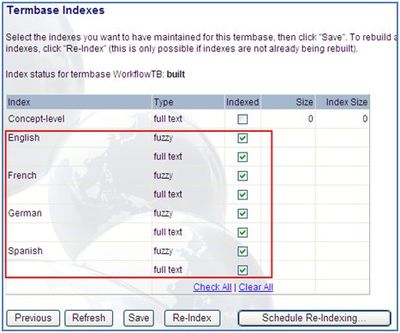
- Create a terminology. If another target language termbase is needed, add it here first. Once the termbase is created, it is defined as automatically re-indexed
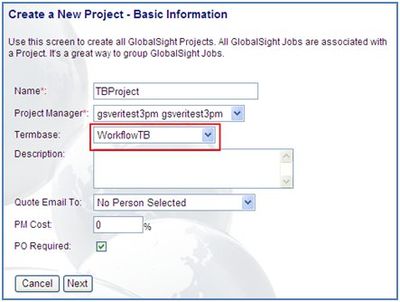
- Select the termbase in Create a New Project
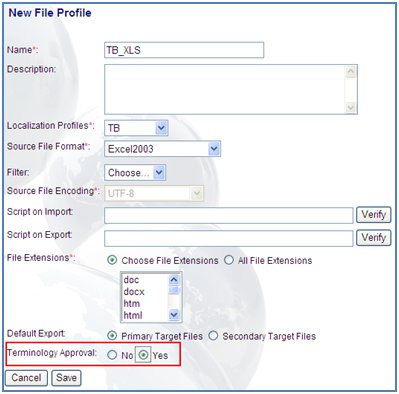
- In New File Profile, select Yes for Terminology Approval. Workflow activities can consist of more than just two activities, translation and review
- Create a job
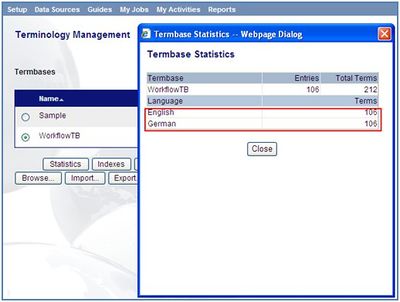
- Finish all activities in the workflow to export the job. Segments are populated in the TM and Terminology
- Create another job with the same source file. The translator finds the terms with their termbase matches in segment editor
