Using the GlobalSight CVS Connector
The GlobalSight CVS Connector was introduced in GlobalSight server version 7.1.6 to allow a connection between GlobalSight and a CVS repository. The connector allows the retrieval of content from the CVS server, CVS module mapping and creating jobs in GlobalSight, followed by an update of the content back to the CVS server.
Contents
Pre-requisites
- The CVS client is installed with the GlobalSight server, if it differs with the CVS server
- The GlobalSight server is running release 7.1.6, or later
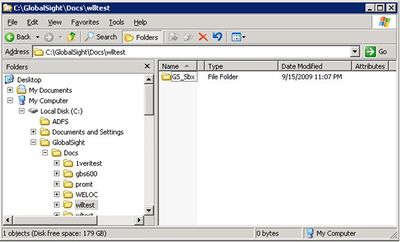
- Creating a company in GlobalSight also creates a workspace. For example, when a company named wlltest is created, the workspace is \docs\wlltest\
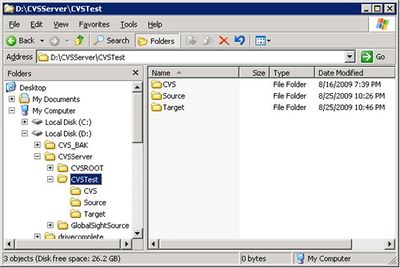
- The CVS server is configured well. For the purposes of this document, the example CVS Server structure is:
- Repository path: D:\CVSServer\
- For a CVS server using the EXT protocol only, the Jboss service on the GlobalsSight server must be started manually by running: ** startJboss.cmd at .\<Install Path>\jboss\
CVS permissions
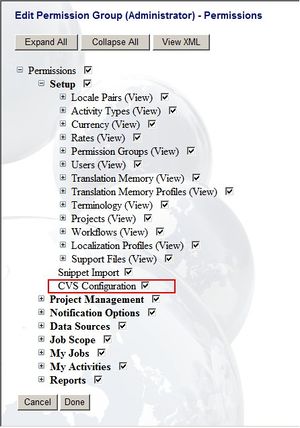
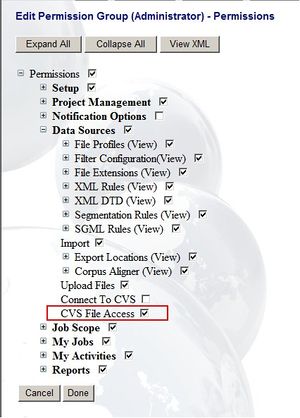
- Click Setup menu to see the permissions for CVS Configuration
- Click the CVS Configuration check-box
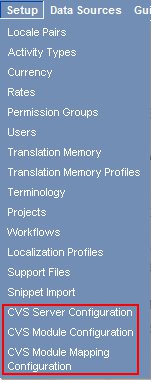
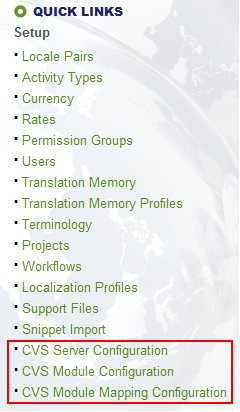
- Log out of GlobalSight and log back in again. You can now see the menus for configuring the CVS servers:
- CVS Server Configuration
- CVS Module Configuration
- CVS Module Mapping Configuration
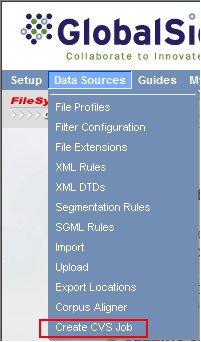
- To create a job by uploading files from the CVS server, the permission CVS File Access under Data Sources must be enabled under Globalsight – Permissions -> Data Sources -> CVS File Access
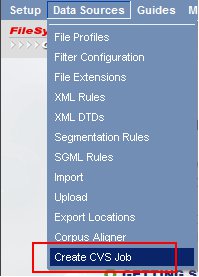
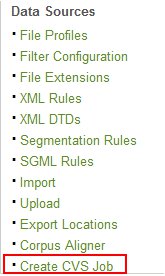
- Click CVS File Access. This shows Create CVS Job under Data Sources.
Configuring the CVS server
Create a new configuration
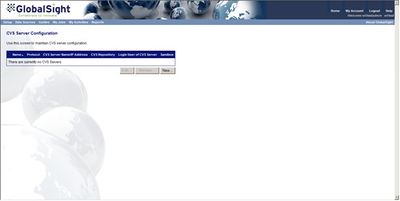
- Select Setup -> CVS Server Configuration to open the CVS Server Configuration page
- Click New
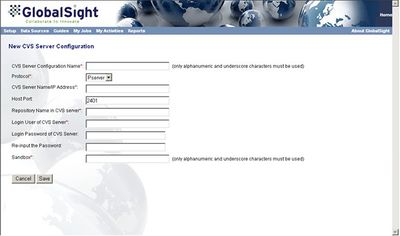
- Add the information as required:
- CVS Server Configuration Name: add a name for the CVS server configuration here
- Protocol: select from the two types supported, Pserver or Ext
- CVS Server: add information on the CVS Server. Machine name or IP address is supported
- Host Port: check the port of the CVS server. 2401 is the default for the Pserver protocol, and 22 is the default for the Ext protocol
- Repository Name in CVS Server: add a relative path here
- Login User of CVS Server and Login Password of CVS Server: add the account information for accessing the CVS repository
- Re-input the Password: enter the password again to confirm
- Sandbox: add a relative path here. This is the folder on the GlobalSight server where files checked out from the CVS server are temporarily stored
- For example:
- CVS Server configuration name: GS_CVS01
- Protocol: Pserver
- CVS Server: machine1 or 10.10.11.100
- Host Port: 2401
- Repository Name in CVS Server: CVSServer
- Login User of CVS Server: test
- Login password of CVS Server: ****
- Re-input the Password: ****
- Sandbox: GS_Sbx
- Click Save
The sandbox path is \docs\<Company Name>\<Sandbox>\.
Editing a configuration
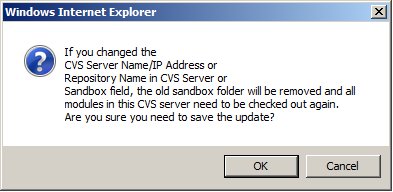
- Click Edit on the CVS Server Configuration page. A warning message pops up to inform you of the possible effect caused by it
- Click OK to confirm
Removing a configuration
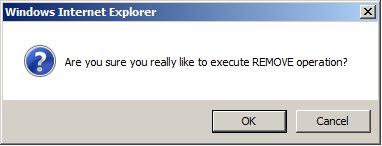
- Click Remove on the CVS Server Configuration page
- Click OK
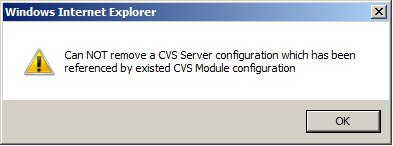
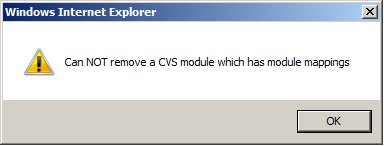
If you have defined CVS module in next section for the CVS server configuration, you have to remove the CVS module configuration before deleting CVS Server configuration. Otherwise, a warning message displays:
Configuring the CVS module
Adding a module
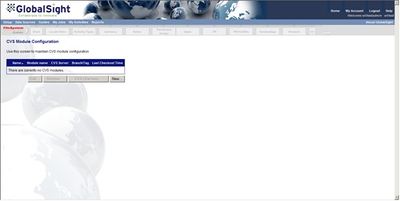
- Click Setup -> CVS Module Configuration to open the CVS Module Configuration page
- Click New
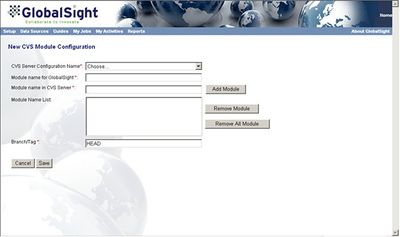
- Add the information as required:
- CVS Server Configuration Name: select the CVS server configuration from the drop-down list
- Module name for GlobalSight: enter the name of the module. A folder with this name is created in \docs\<Company name>\<Sandbox>\
- Module name in CVS Server: enter the CVS module name and then click Add Module to add it to the Module Name List
- Module Name List: add or remove multiple CVS modules from the Module Name List within the same CVS Module Configuration as needed in GlobalSight
- Branch/Tag: select the Branch or Tag name here. HEAD is set by default, which means the most recent version available in the repository
- For example:
- CVS Server Configuration Name: GS_CVS01
- Module name for GlobalSight: GS_Mdl
- Module name in CVS Server: CVSTest
- Branch/Tag: Head
Checking out files from the CVS server
You can check files out from the CVS server once the CVS module has been configured. This allows you to check out the specified module from CVS, to the GlobalSight server. All files retrieved from the CVS server are stored in the folder defined in the CVS module configuration. The current user must have the permission of the CVS Configuration here. Checking out can be done as soon as the CVS Module configuration is available.
- Select the module listed in the CVS Module Configuration page
- Click Checkout
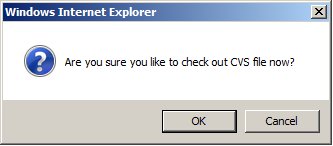
- Click OK in the message box that pops up
- Click OK. The checkout process starts
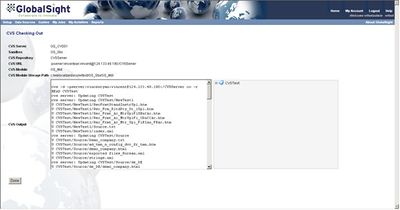
In this example, checkout details from the CVS server display in the CVS Output window in the left. You can browse the checkout results in the tree-view on the right.
- Click Done to close the current window
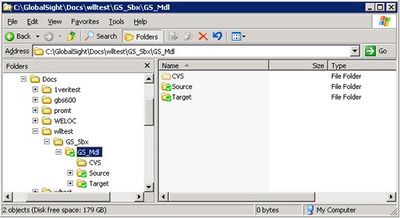
You can now see the files checked out to the sandbox on the GlobalSight Server in .\docs\wlltest\GS_Sbx\GS_Mdl\
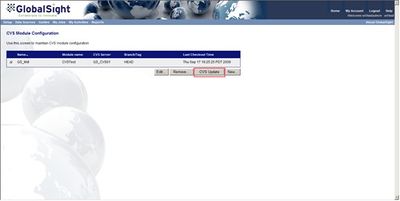
The latest checkout time is recorded in the CVS Module Configuration list. You can decide whether a CVS update is required according to the update time before creating jobs. Using the module configuration existing, CVS Checkout changes to CVS Update.
Editing the CVS module configuration
Click Edit on the CVS Server Configuration page to edit the CVS Server configuration.
Removing the CVS module configuration
- Click Remove on the CVS Module Configuration page to remove the CVS Module configuration
- Click OK to confirm
If you have defined a module mapping rule as detailed in the next section for this module, remove the module mapping before deleting the CVS module configuration. Otherwise, an error displays.
Configuring CVS module mapping
You can map a directory that contains a source file to another target folder on the CVS server. This means that the file is uploaded to the specific target folder automatically when a job is exported.
Adding a new module mapping configuration
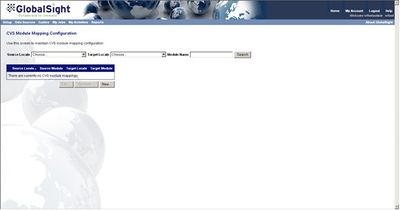
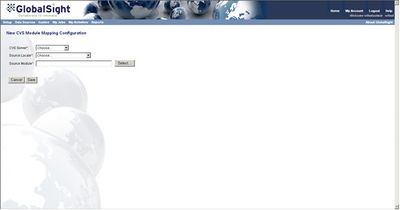
- Click Setup -> CVS Module Mapping Configuration to open module mapping
- Click New
- Select the CVS Server and Source Locale
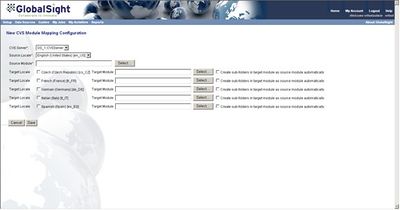
- Add the information as required:
- CVS Server: check that the CVS server configuration listed is correct
- Source Locale: check that the locale of the source file is correct
- Source Module: click Select to choose the source folder. This is the path of the source files on the CVS server
- Target Locale: check that the locale of the target file is correct
- Target Module: Click Select button to choose the target folder. This is the target directory on the CVS server, where the final localized files from the exported jobs are stored
- Create sub-folders in target module as source module automatically: check this if you want to map and copy all of the sub-folders in the Source Module to the Target Module
- For example:
- CVS Module: GS_CVS01-CVSServer-GS_Mdl
- Source Locale: English (United States)[en_US]
- Source Module: GS_Sbx\GS_Mdl\Source
- Target Locale: German (Germany)[de_DE]
- Target Module: GS_Sbx\GS_Mdl\Target
Editing the module mapping configuration
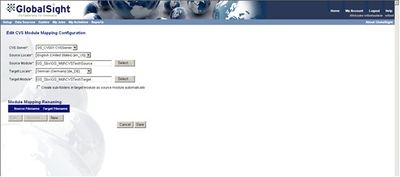
To change the name of the target file when it is committed back to the CVS server:
- Select the module mapping created above
- Click Edit
- Click New
- Enter the Source Filename and Target Filename
- Click Save to add the file re-name rule to the list
- Click Save again to exit the Module mapping page
- Save the localized file to the specified target folder. It is re-named automatically according to the re-naming rule. For example:
- Source Filename - *.html
- Target Filename - *_Deu.html
- A postfix ‘_Deu’ is added to all HTML files uploaded to the target folder when the job was exported.
If a module mapping rule has not been defined, the system automatically creates a folder under the source directory with the same name as the target locale when the job is exported. The file name does not change.
For example, if the source folder is '.\docs\<company>\en_US\<jobname>\GS_CVS\GS_Repository\GS_Module\Source\' and the target locale of the localized file is de_DE, then the target folder is '.\docs\<company>\en_US\<jobname>\GS_CVS\GS_Repository\GS_Module\Source\de_DE\'.
Searching the module mapping
Add a keyword in the search box at the top of the module mapping configuration page to find the module mapping.
Creating a job from the CVS server
Once CVS is configured, you can create a job from the CVS Server. The repository of the CVS server has now been updated in the GlobalSight server:
You can now create a job from the CVS Server.
Uploading files to the CVS server
- Select Data Sources -> Create CVS Job
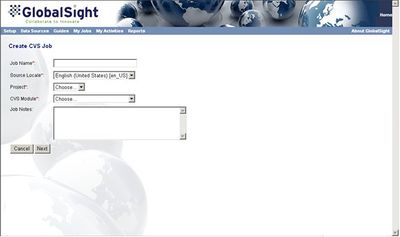
- Add the information required on the Create CVS Job page and click Next
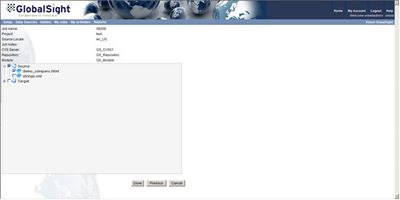
- Select the file from Source file folder and click Done
Importing the job
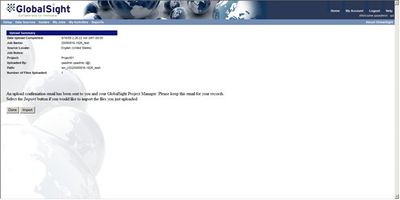
- Click Import. This works in the same way as importing files from the local machine
The job is created once the file has been imported. You can find the job by checking the My Jobs -> All status list.
Exporting the job
When all tasks are complete and have been submitted according to the work-flow, the job is in Exported status. The localized files are downloaded to the target folder specified in Sandbox, according to the module mapping and file re-name rules.
For example, if the source folder is '.\docs\<company>\en_US\<jobname>\GS_Sbx\GS_Mdl\Source\democompany.html', then the target folder is '.\docs\<company>\en_US\<jobname>\GS_Sbx\GS_Mdl\Target\democompany_Deu.html'.
GlobalSight then automatically commits the target files to the CVS server, with the same structure as that in the sandbox of the GlobalSight server. These files are also be available for check-out or update.
Note: There is one known issue in the CVS function with regard to file version control.
For example, two translators are assigned to work on the same source file for same target locale, with separate jobs. The first translator submits the job with a file version of 1.1. When the other translator submits the job, the previous file in the target folder is overwritten by the new file version, and the previous version is lost. In this case, the user needs to download the localized file from the GlobalSight server to the local machine, and use other CVS tools to proceed with the conflicting and re-commit the file to CVS manually.
