Creating Jobs
| Project Management Wiki | |||||||
| Jump to: Home | Main User Guide | |||||||
 | |||||||
| General About GlobalSight My Jobs | My Activities My Account | |||||||
| |||||||
| |||||||
| |||||||
| Support Support | FAQs | Training System Requirements Logging in |
| Related Information: |
You can request translations by creating jobs.
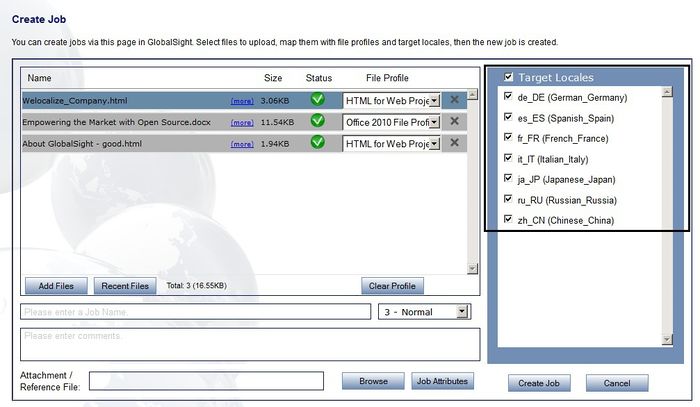
Creating a job includes adding the files for translation, mapping them to a file profile, adding comments and selecting locales.
You can also create jobs using Desktop Icon, an application that you can download to your desktop.
The creator of the job shows as the initiator.
Contents
Creating Jobs
To create a job:
- Open GlobalSight
- Enter your Project Manager user name and password and then click Login
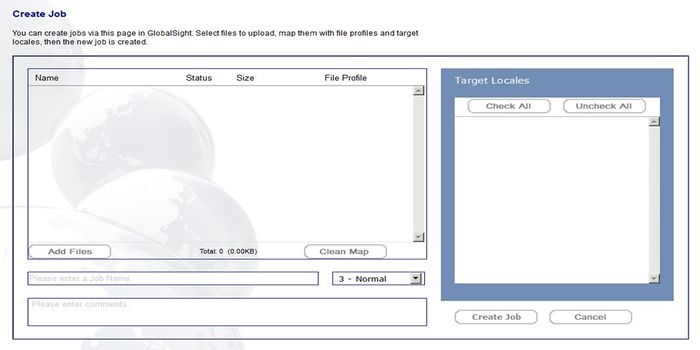
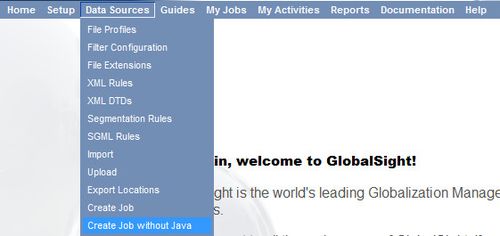
- Click Data Sources->Create Job in the top menu or on your home page. Create Job opens. You can create jobs without using Java, if needed
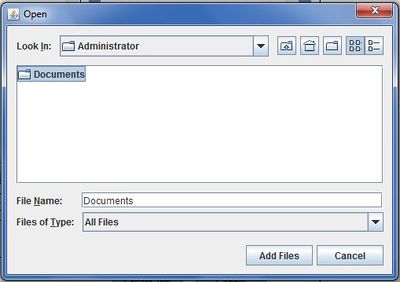
- Click Add Files and select the files or folders to upload
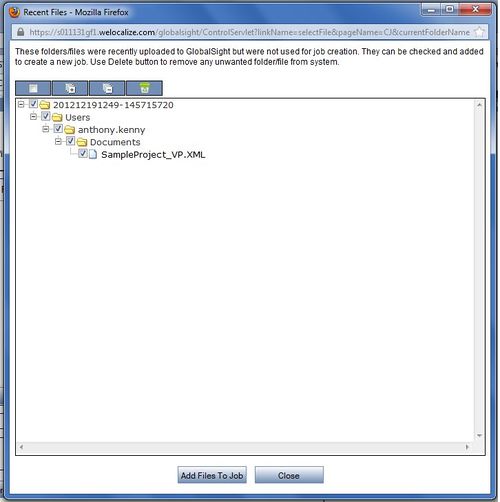
- You can also click Recent Files to select a file that you have recently uploaded to the server but did not use to create a job
- Select the file or folder and click Add Files to Job
- You can also click Recent Files to select a file that you have recently uploaded to the server but did not use to create a job
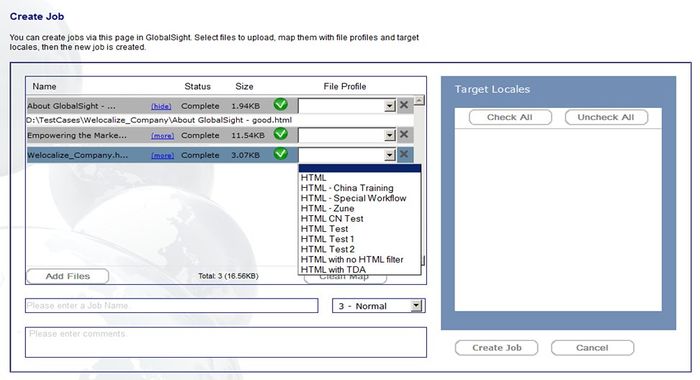
- Select the File Profile to map the files uploaded to. You can also remove the file profile selected by clicking Clear Profile
- Add an attachment or reference file, if needed, by clicking Browse. For example a spec, or a guideline to provide extra information. Zip files are supported
- Select all Target Locales or pick them individually
- Add the Job Name. Use a name that is descriptive and easy to understand. Use supported characters only
- Add any Comments needed. For example an FTP location, additional information about the job and so on
- Select the Priority, from 1-5
- Click Create Job
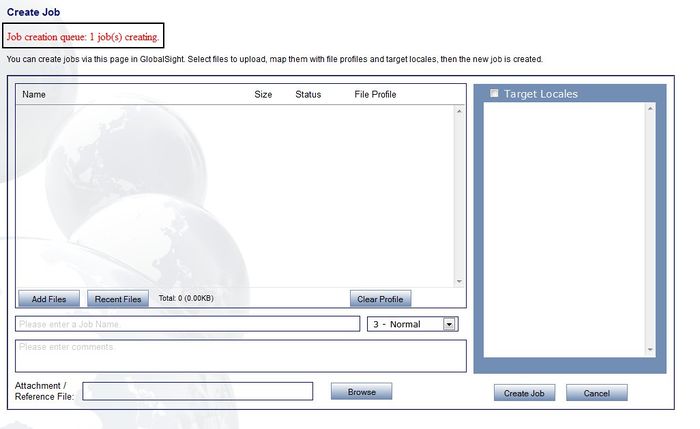
The job shows in the Job creation queue - both on the job creation page and on your homepage.
Your job is created and assigned a Job ID. The job status changes to Ready and you can find the job in My Jobs - Ready.
Creating Jobs without Java
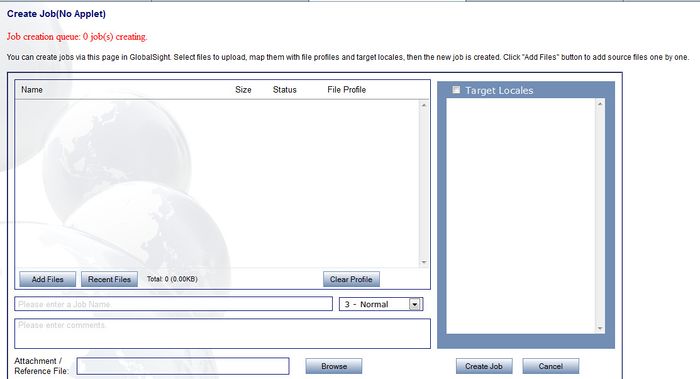
You can also create jobs without using the Java applet. The Java applet is convenient, but some users face various Java security issues when using this method.
To create a job without using Java:
- Select the non-applet version by clicking Data Sources->Create Job without Java in the top menu or on your homepage
- Upload files (use Shift/Ctrl to select multiple files) or use zip and upload if you want to maintain folder structure
Re-submitting Job Creation Failures
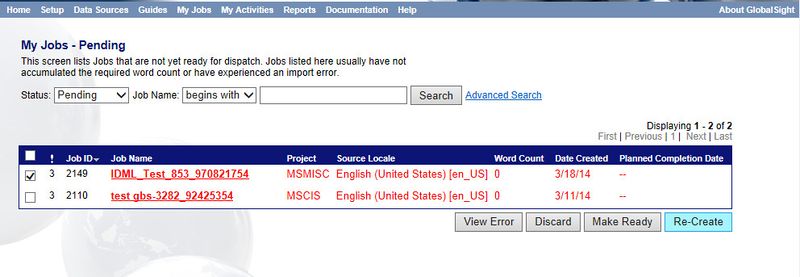
You can re-try jobs that have not been created properly by opening My Jobs - Pending and clicking Re-create. Contact your admin for the permission needed.
GlobalSight backs up the source files, cancels the failed job, and then creates the job again using the same job ID, job name and file paths.
You cannot re-create jobs for which the source file request number is less than the source file number. A warning message pops up.
Following the job creation progress
Open My Jobs to follow up the progress of the job creation.
The Job Status shows as:
- Extracting
- Leveraging
- Processing (x of y)
- Ready or In Progress
