Difference between revisions of "Installing Desktop Icon on Windows"
Jump to navigation
Jump to search
Globalwiki (talk | contribs) m (1 revision) |
|
(No difference)
| |
Revision as of 03:39, 14 October 2014
Installing Desktop Icon on Windows
To install Desktop Icon on Windows:
- Open the folder into which you downloaded the GlobalSight_DesktopIcon_Windows_vx.x.zip file
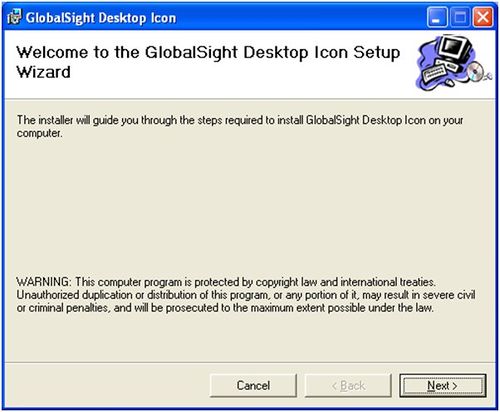
- Double-click setup.exe. The Welcome to the GlobalSight Desktop Icon Setup Wizard opens
- Click Next
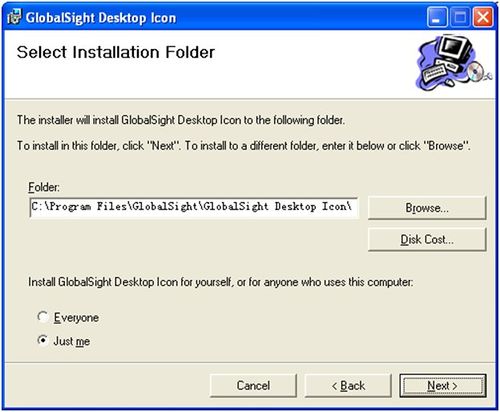
- Click Browse to select the folder in which to install Desktop Icon
- Click Disk Cost to check the disk space available and required on each of your drives. Click OK to return to the installation
- Select whether to install just for yourself or for anyone who uses the computer. The default is Just Me
- Click Next
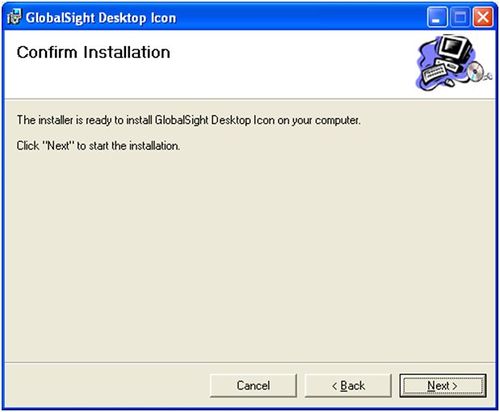
- Click Next to confirm and start the installation
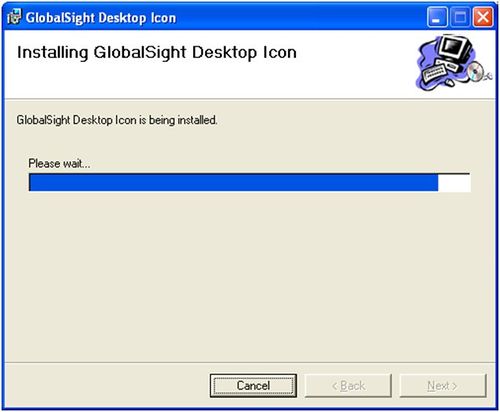
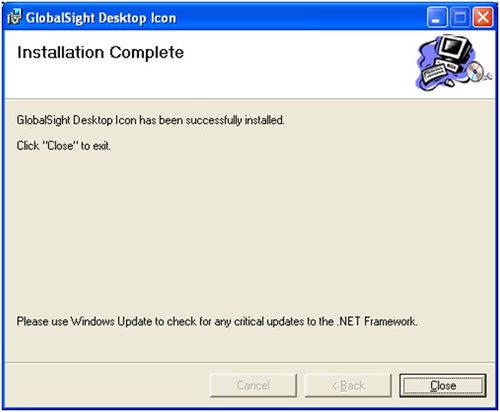
You can follow the installation progress in Installing GlobalSight Desktop Icon. - Click Close once the Desktop Icon is installed and the wizard shows Installation Complete
- Create a shortcut on your desktop by clicking Start->All Programs->GlobalSight Desktop Icon->Create shortcut Icon on Desktop
Windows 7 users
You may be prompted to create a new folder in your Users directory for in which to install.
This depends on your privileges on the system on which you are installing.

